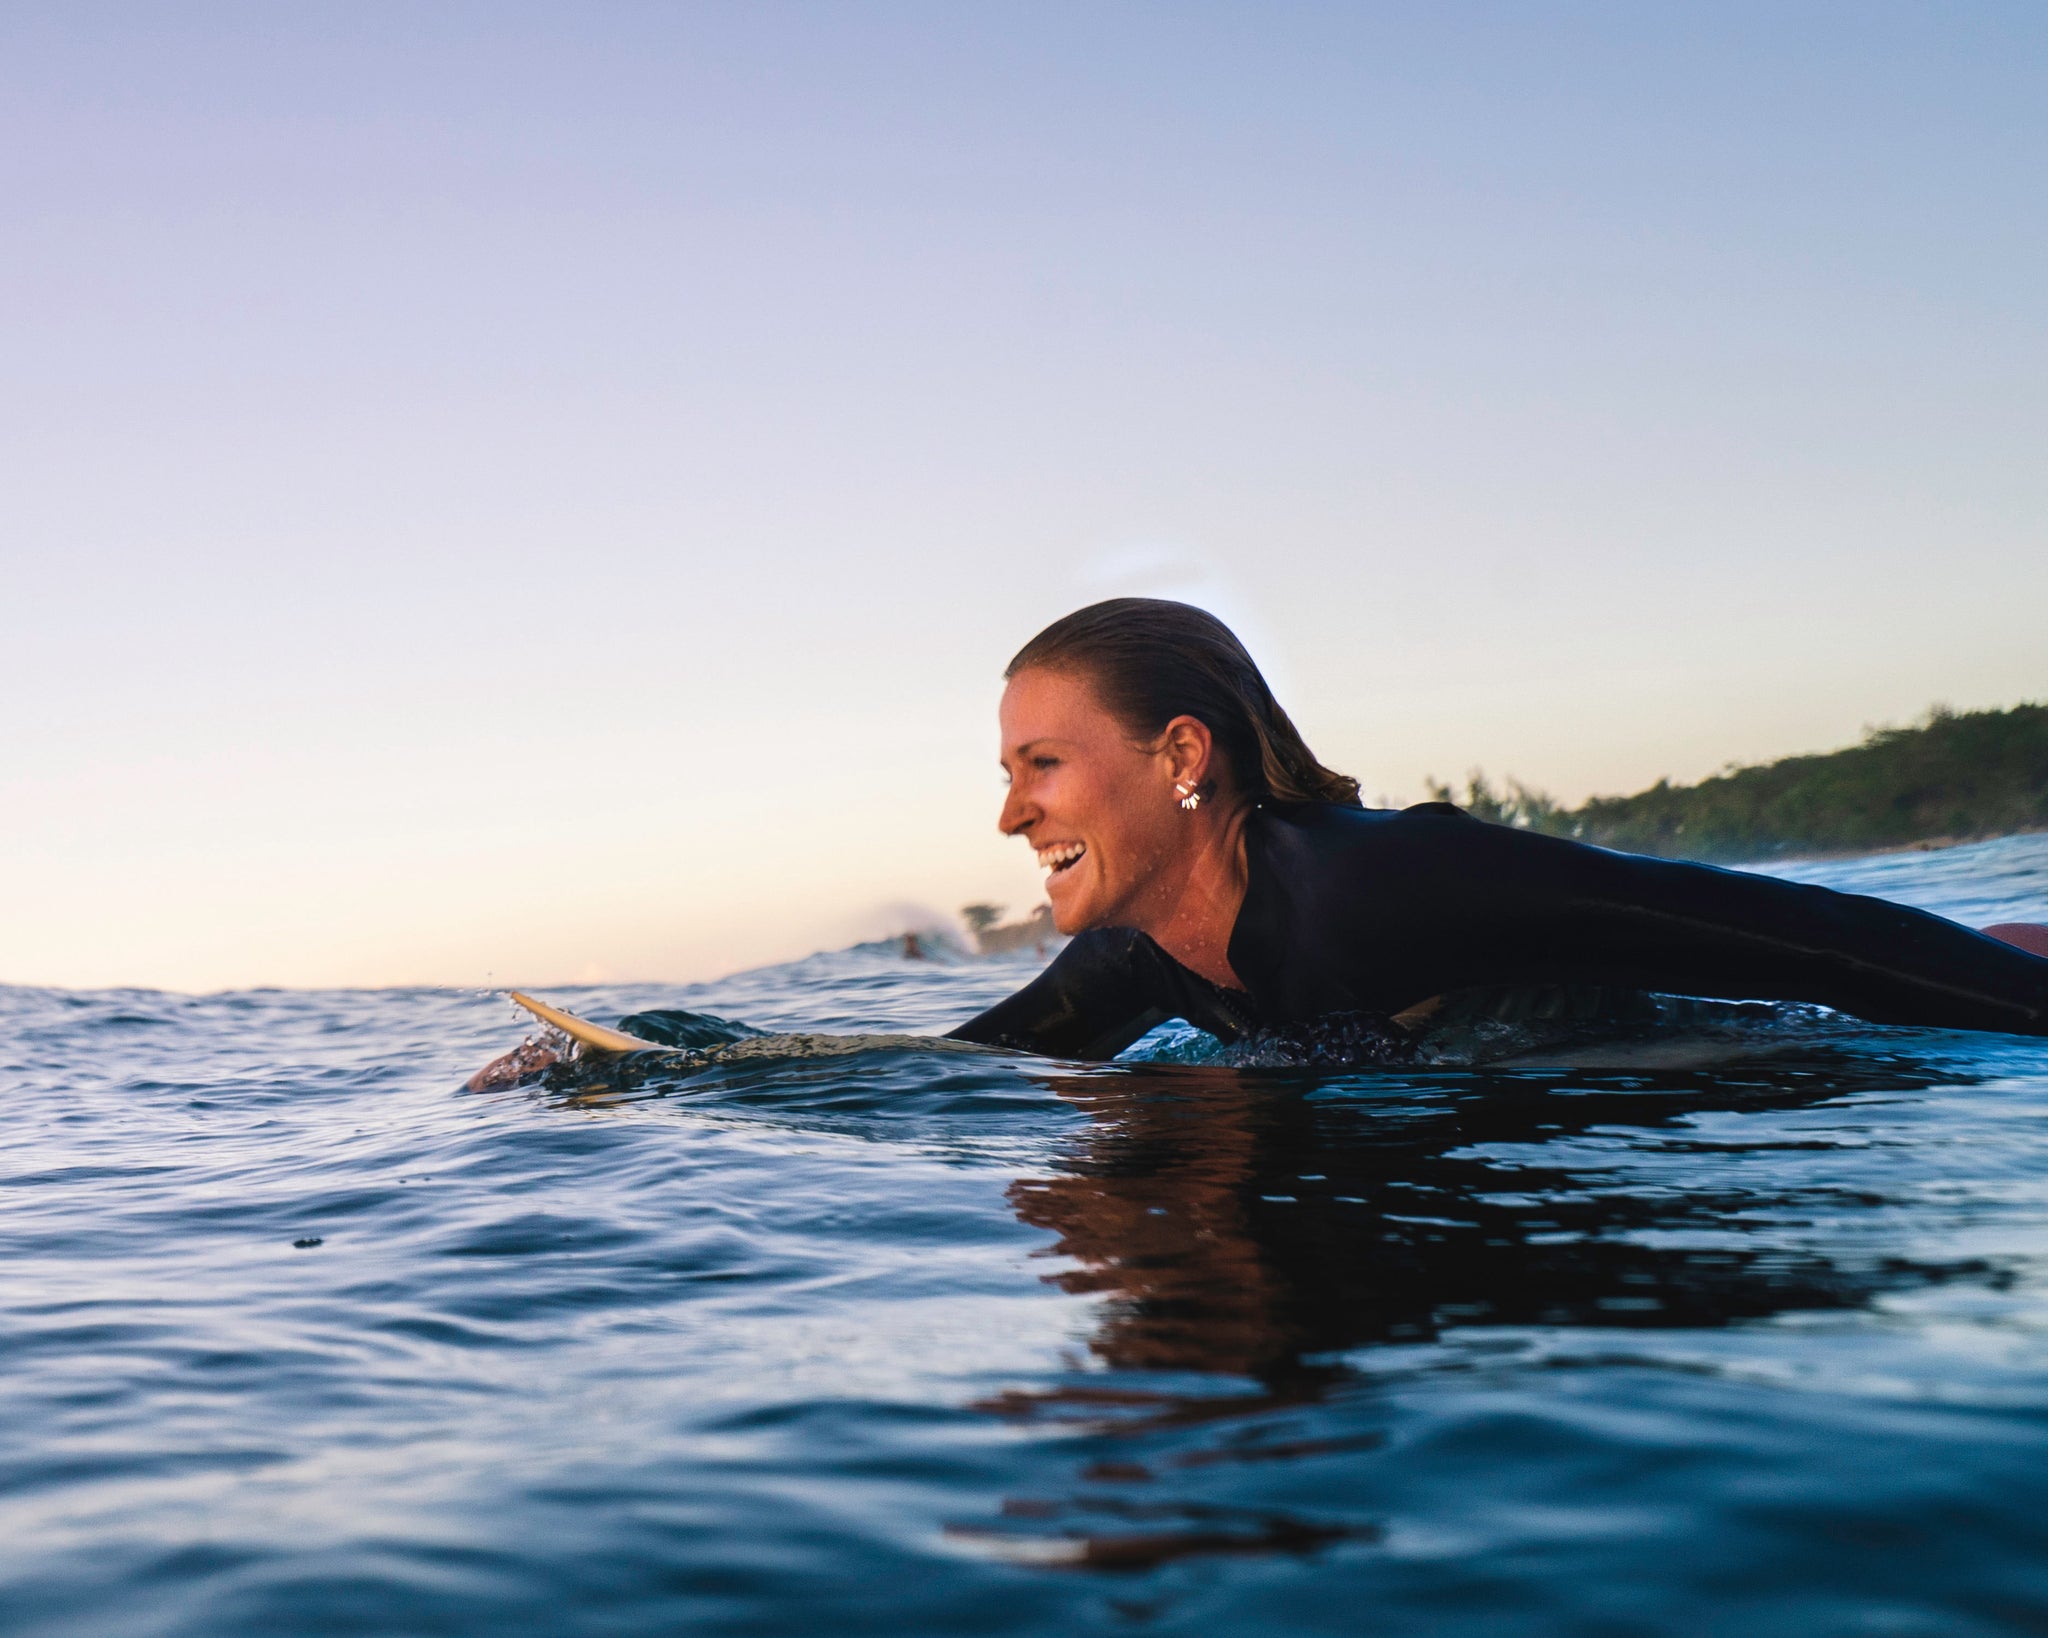


Much like yoga, surfing is a lifestyle. There's a deep connection between surfer and sea, yogi and the sutras. The core of both yoga and surfing lies in the magnificent harmony between the body, the mind, and the breath. Both practices encourage mindfulness, spiritual awakening, connection, and presence in the immediate moment.
It's no surprise that many surfers are yogis, because the balance of the two creates a beautiful harmony in our bodies. Some of the most famous surfers in the world, including Gerry Lopez, preach that yoga drastically improves their surfing abilities.
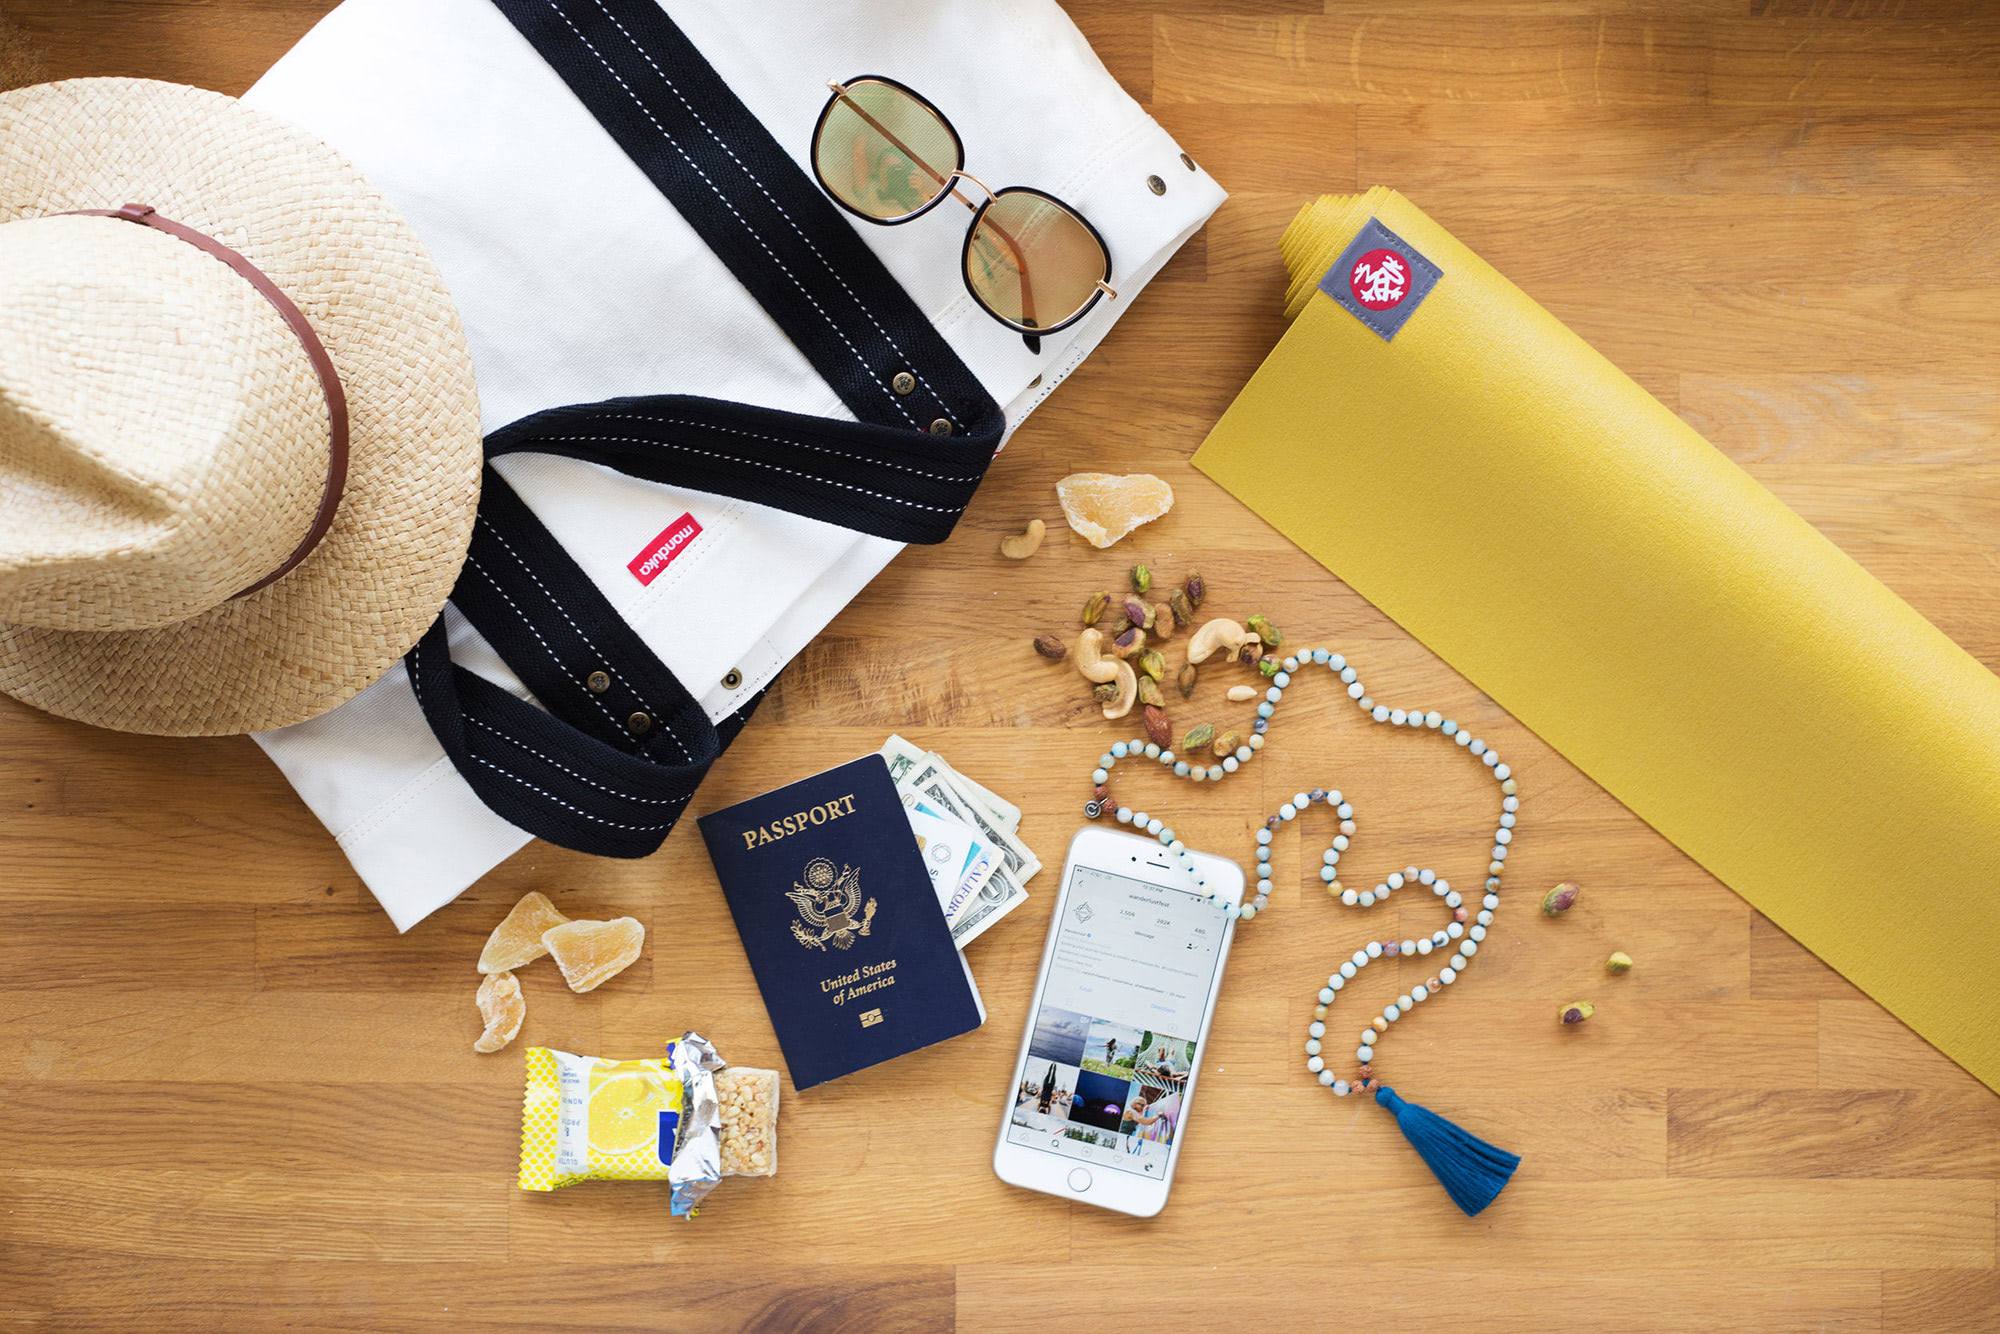
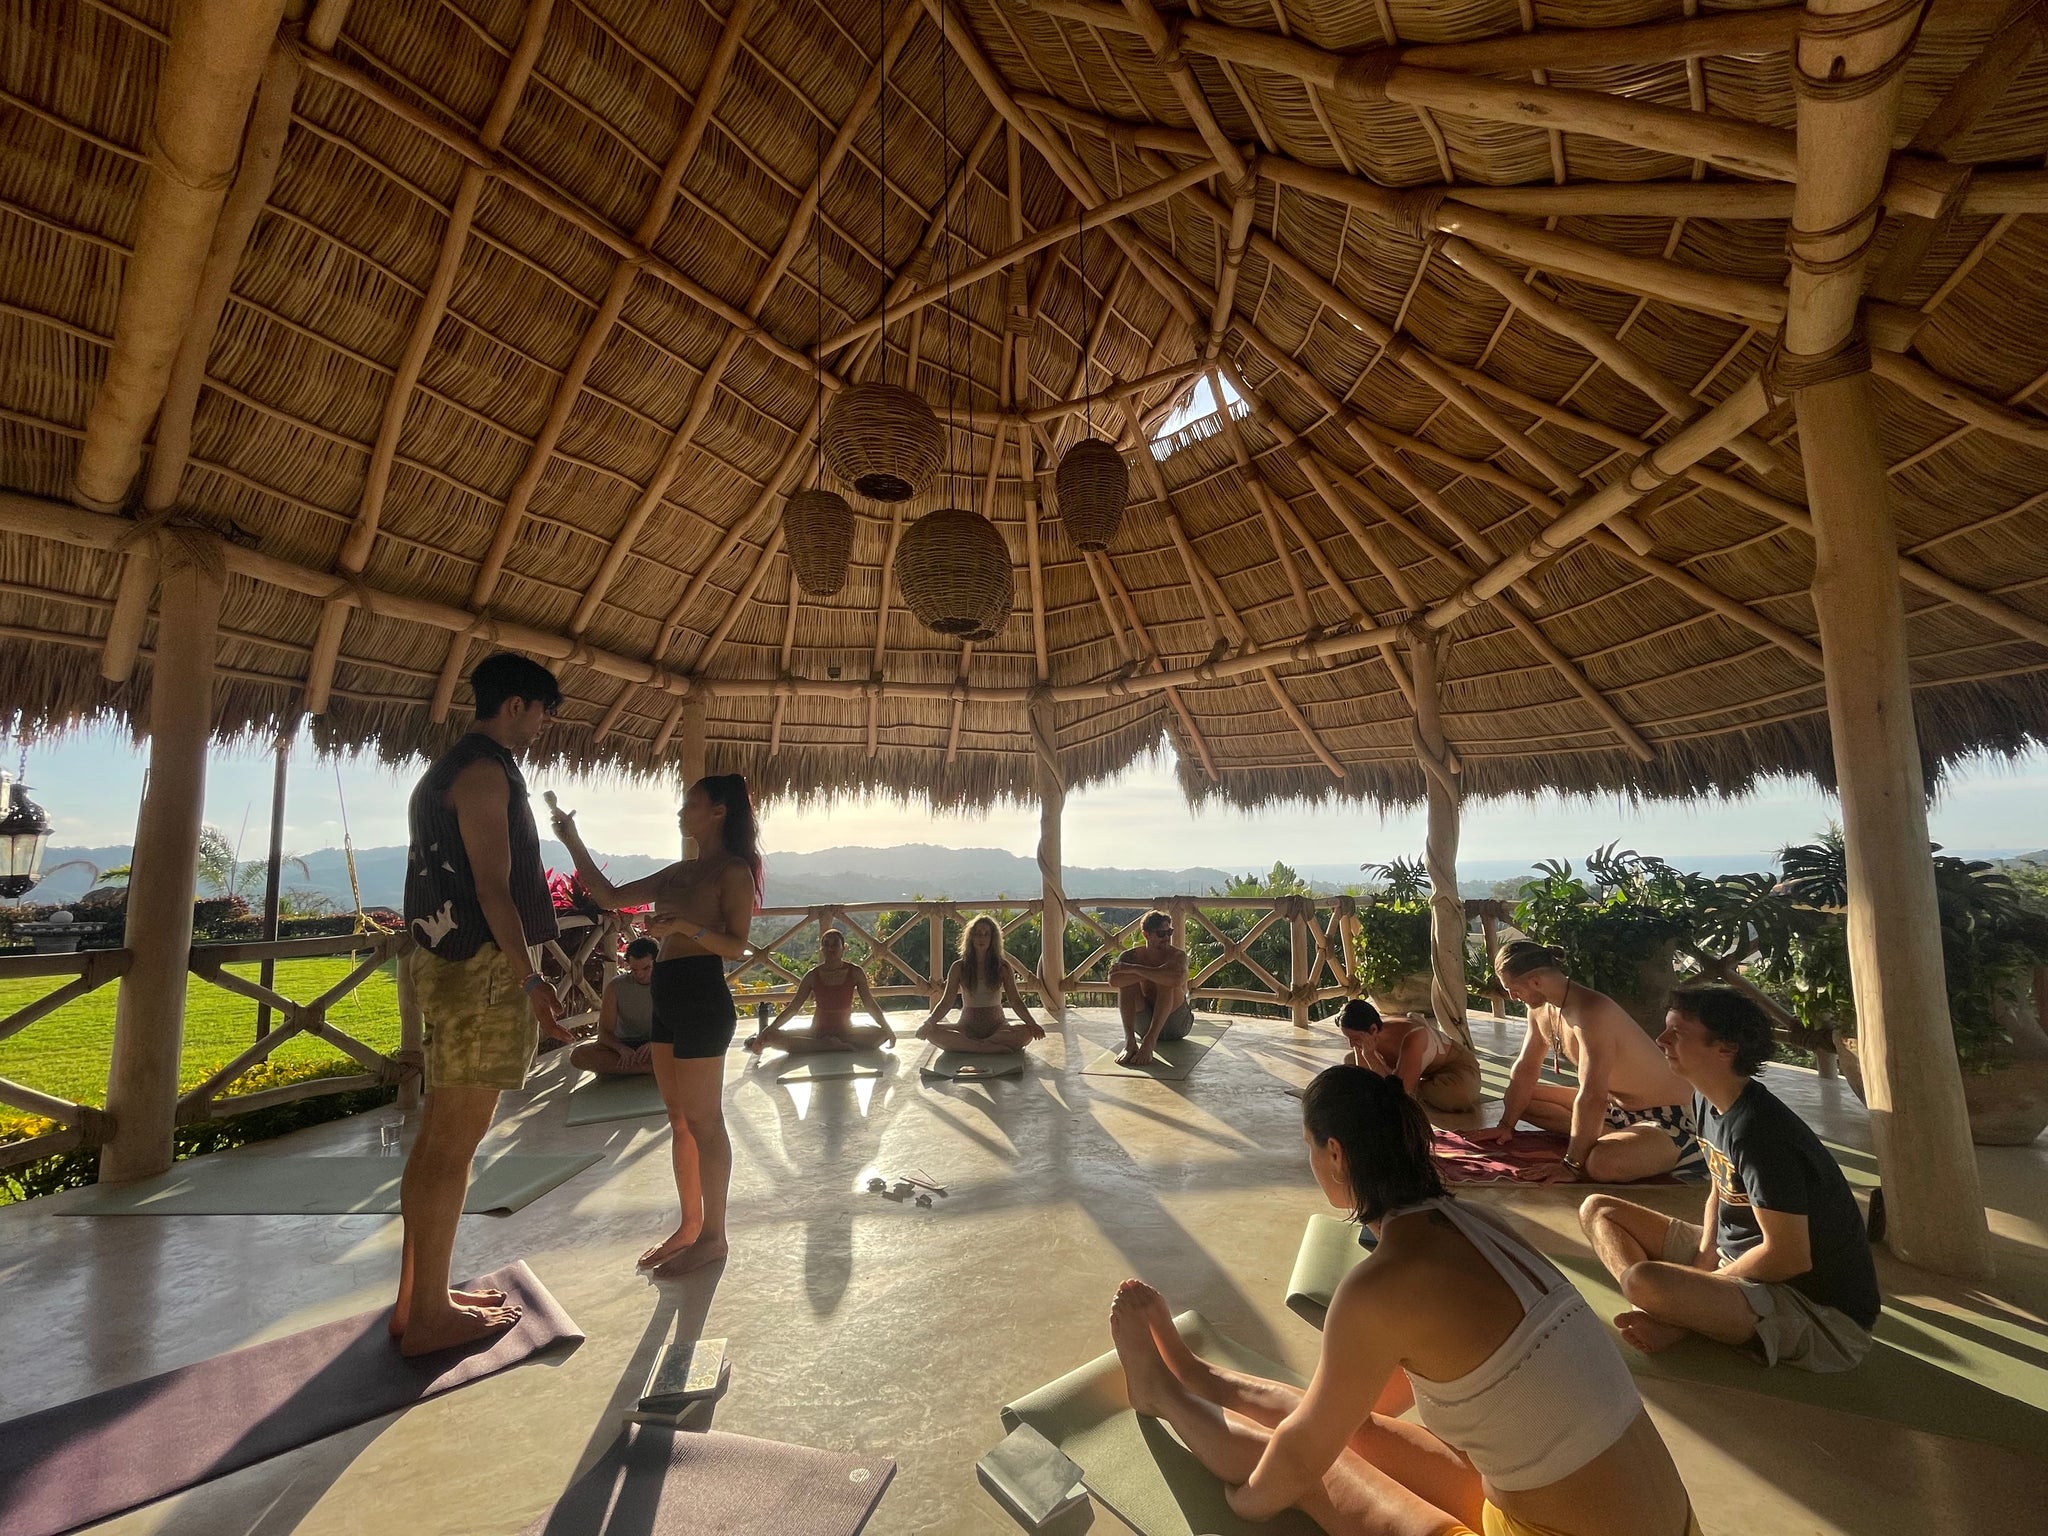
Every year, I host week-long surf and yoga retreats at some of my favorite surf breaks in the world, from Mexico to Indonesia. We surf for hours on end each day, and as epic as that is, it requires time on the mat, practicing yoga each day to balance out our bodies. It's no doubt that my yoga practice has deeply enhanced my overall performance in the water while surfing, and visa-versa. Below are yoga poses that are essential to mine, and truly any surfer's yoga routine.
Breathing:
Prana, our breath, is a key element in both yoga and surfing. In the yoga practice, the breath is what keeps us centered and focused. In surfing, we need full lung capacity in those moments that we're stuck under a wave and are forced to hold our breath.
Before you practice any of these poses, begin in a seated position and focus on engaging your breath. Start by placing one hand on your heart and one hand on your belly. On a slow count of four, inhale through your nose, feeling your belly, ribcage, and chest inflate with air. On the same slow count of four, exhale through your nose, feeling yourself deflate. Continue breathing like this throughout the duration of your yoga practice in order to maintain focus.
Pose 1: Child's Pose with bent elbows and blocks
How: Enter child's pose on your mat, with your knees spread wide and your two big toes touching, with your arms extended in front of you. Take your two blocks and place one under each elbow at the lowest height and your hands at prayer tapping your upper back, so that your forehead and heart can sink in between the blocks. Release your head and chest toward the mat. Take multiple breaths, perhaps holding for several minutes.
Why: Opens chest, releases tension in the upper back and traps, and gives the neck a release.

Pose 2: Cat Pose
How: From table-top position, exhale and round your back toward the ceiling. The pose should look like a cat stretching its back. Release the top of your head toward the floor, and hold for multiple breaths.
Why: Relieves tension in the upper back and strengthens spine.

Pose 3: Puppy Pose with thread the needle twist
How: Come to tabletop position with your shoulders stacked over your wrists, your hips stacked over your knees. Slowly walk your hands out in front of you, lowering your chest and forehead down toward the ground. Keep your hips over your knees and your arms shoulder distance apart, and hold for a few breaths. When you're ready, slide your left arm underneath your right armpit to thread the needle in your puppy pose to take this into a shoulder-releasing twist. Make sure to repeat on the second side.
Why: Stretches the spine, shoulders, upper back, and arms.
Pose 4: Salabhasana
How: Lie on your stomach, arms by your side, your forehead or your chin on the mat.
As you inhale, lift your head, chest, arms and legs off the floor, firming your shoulder blades onto your back, and so broadening your chest.
Why: Stretches the front of the body, opens the chest and shoulders.
Pose 5: Downward-facing dog
How: From Table position, tuck the toes under, press into your hands and begin to lift your hips up towards the ceiling. Your palms should be shoulder width apart. Press your hips up and back, reaching your chest towards your thighs.
Why: Deeply stretches the back, opens the chest, and builds upper body strength.

Pose 6: Low lunge with eagle arms
How: From low lunge, take your Eagle Arm wrap. The bottom arm (the arm that wraps under) is the same side as the leg extended back behind you. The top arm is the same side as the front bent knee. The arms are crossed in front of the torso so that one arm is crossed above the other arm.
Why: Stretches the thighs, hips, shoulders, and upper back.
Pose 7: Malasana
How: Bend your knees deeply, sinking down until your hips are lower than your knees, a few inches off the floor. Bring your hands together at heart center, and wedge your elbows one at a time, to the inside of your knees. Push your elbows into your knees to open your hips. Lift your heart forward and up, attempting to bring length into your lower back and spine.
Why: Stretches groin, lower back, sacrum and hips.

Pose 8: Cow Face Arms
How: Sit tall, knees bent, feet flat on the floor. Slide your left leg under your right and bring your left heel to the outside of your right hip. Bring your right foot around to the outside of your left hip. Then, since your right leg is on top, inhale and lift your left arm up, bend your left elbow and let your left hand rest at the middle of your upper back. Reach back and around, bringing the back of your right hand to rest on your back. You might be able to clasp your hands together. If not, use a strap between your hands.
Why: Deep stretch of hips, ankles, thighs, shoulders, armpit, chest, deltoid and triceps.
Pose 9: Supine Figure 4
How: Lie on your back and cross your right ankle over your left knee and keep your right foot flexed. Bring your left knee toward your chest. Reach your right hand through your legs and interlace your fingers just below the crease of your left knee. Using the strength of your arms, pull your left knee toward your chest and breathe.
Why: Opens tight inner and outer hips, releases neck tension.

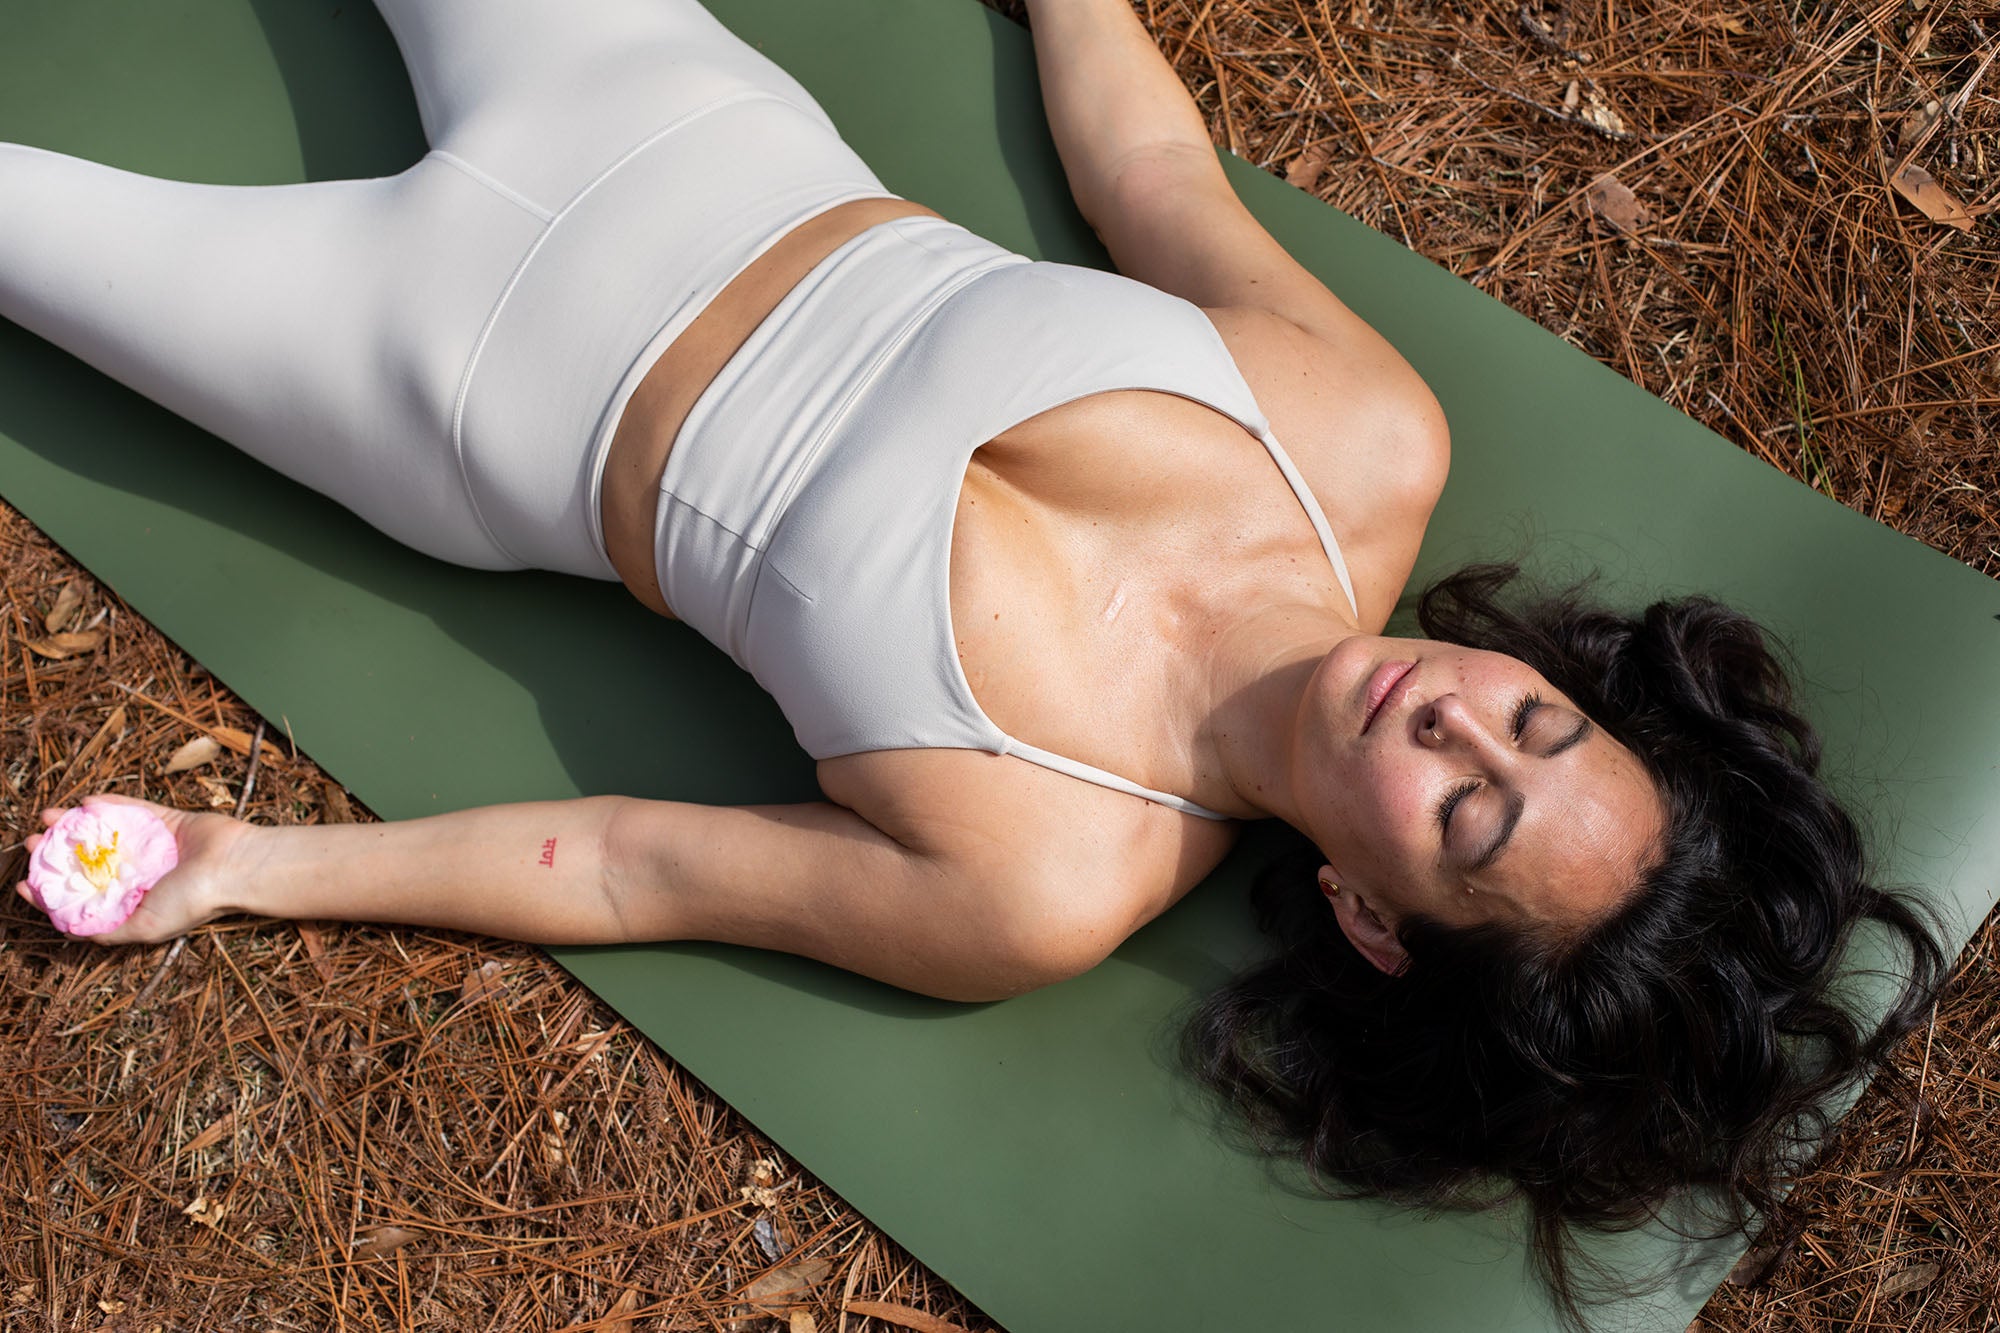
Pose 10: Supine Twist
How: Lie down on your back with your legs extended long on the ground. As you inhale, hug your right knee into your chest. As you exhale, trace your right knee over to the left. Create a “T” shape position with your arms, twisting and gazing to the right. Hold for a few breaths and then change sides.
Why: Lengthens and encourages mobility along your spine, and stretches the hips, lats, and shoulders.
About the Author
Emily Meersand is a Hawaii-based yoga instructor and practitioner, located on the North Shore of Oahu. She's been a Manduka ambassador since the very beginning! She began regularly practicing yoga at a young age with her mom, who was an avid yogi. Her yoga practice and teaching style is derived from yoga classes all over the world. She has studied yoga in Bali and has led surf and yoga retreats from Mexico to Sri Lanka. She has taught yoga at San Francisco studios including The Assembly, yogabeachSF, Yoga Flow, Lovestory Yoga, and Equinox Market Street and has trained with Janet Stone, Stephanie Snyder, Diana Oppenheim, Suzy Nece, Anna Hughes, and Schuyler Grant.
To learn more from Emily, you can head to her site or follow her here.