We are in a new age of yoga teaching where Zoom, Skype, Insta-Stories and FB Live rule. As for now, yoga studios are temporarily closed and face-to-face classes are no longer an option, leaving online yoga as the only way forward.
So, how do you transition a primarily physical profession to the desk(top)? How do you go from being Zoom novice to Youtube extraordinaire?
The answer? A mixture of research, some preparation and good old determination. Here are my top pieces of advice to get you going.
Insurance.
Before doing anything, check your insurance policy covers you to teach yoga online. While many policies will cover virtual classes, these come with varying conditions and requirements. Below are just a few of the areas you will need to address with your insurance provider.
Are you insured to teach live classes? Is there a limit to the number of students you can teach? Are you covered for pre-recorded videos? Can you share your classes via Instagram Stories?
Let’s talk tech.
You will need to select a platform to host your classes. Your decision will depend on whether you want to live-stream your classes or share them as pre-recorded videos.
Live-streaming most resembles in-person classes, in that it allows you to interact with your students in real-time. For this reason, live-classes are often considered to be more engaging than pre-recorded sessions where there is not the same degree of student-teacher interaction. The most popular online platforms for yoga classes are Zoom, Skype, Facebook Live and Namastream.
Alternatively, Youtube, Vimeo and Dropbox are ideal for posting pre-recorded videos for your students to access whenever suits them. Record your class content, upload the video and voila - the class is ready to send out to your students.
It’s all in the set-up.
High-quality audio and visual are everything when creating a good online experience. You want your students to be able to see you - all of you - regardless of the asana pose you are demonstrating. This may require adjusting the placement of your recording device (pre-class of course), and even purchasing a wide-screen camera if necessary. A good solution to prevent your upper half disappearing in Tree Pose is to position the camera further back in your “home” studio.
If you do have to move your laptop or smartphone in order to be seen, consider investing in a headset or clip-on mic. This will allow you to move freely throughout the class without jeopardising the noise quality and prevent any mishaps (that’s savasana, not trikonasana). Likewise, if you are playing music, keep the volume down to ensure it is you, not Xavier Rudd’s sweet tones, that your students are listening to.
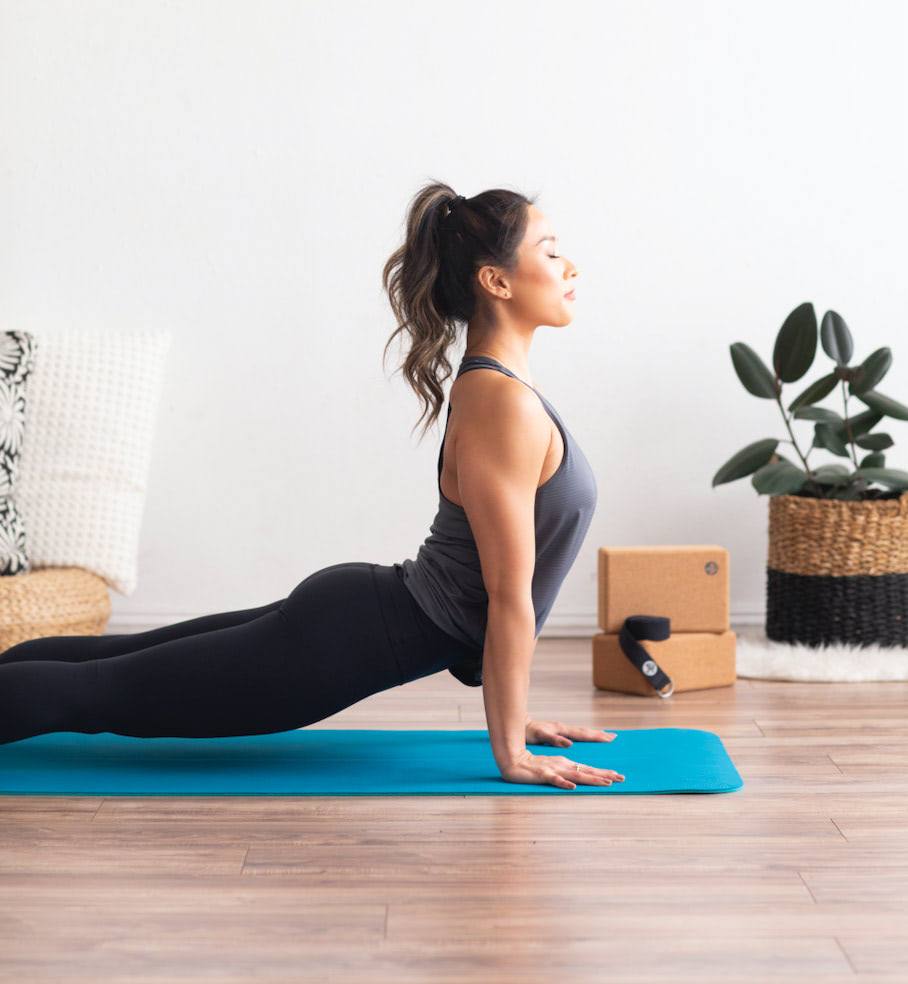
Finally, do not overlook the aesthetics of your online setup. While this may seem superficial, creating a clean, light and uncluttered space to practice will help relax your students. Endeavour to replicate the studio environment by using bright lighting and simple decorations. Much as you would for a “normal” class, you want the environment to be inviting and calming space for your students.
When in class.
Now that your home studio is set up, it’s now time to start the class. Schedule a time, invite your students and begin!
One of the benefits of Zoom is the Waiting Room, a virtual holding space which allows you to accept each student into the class individually. This not only prevents any uninvited entries, but also enables you to greet each student as you would in a “real-life” class. You can leave the Waiting Room doors open for up to 5 minutes to allow for any latecomers while the rest of the class settles down. After that, the “classroom” doors are essentially locked to avoid potential disruptions. If you are not a Zoom convert, it is still worthwhile following this limited time-window system.
Ideally, you want to run your e-class as you would an “in-person” session. Check for any injuries and suggest relevant modifications when necessary, say the queues clearly and demonstrate where needed. Get comfortable with speaking to the screen, or rope in a lockdown buddy to attend the class if you feel more comfortable instructing a “real” person. This is particularly relevant if your students decide to turn off their camera. It can be difficult to teach to a blank screen, so get creative with it - even if that means guiding some nicely arranged cushions through sun salutations.
Background music is a useful addition to your online classes, however, poor connection or audio quality can cause crackling or muffled tones that is jarring for students. One way to overcome this is to send your students a playlist that they can start when the class begins. Put your students on mute so as not to be distracting to others. Please be aware that, if you do opt for a subtle soundtrack, you will need a music license.
Feedback is your friend.
Student feedback has never been more valuable. As you shift to teaching online ask the class what is - and isn’t - working. Can they clearly hear and see you? Is the class schedule still suitable for everyone? Do they prefer pre-recorded or live classes? The responses will help inform and grow your online business.
This is a strange and challenging time for all of us, students included. They do not expect you to have perfected the art of teaching online, and neither should you. Be generous with yourself and laugh when things do not quite go to plan. Even the pro’s don’t get it right 100% of the time.

Written by: Melissa Albarran, from Yoga Alliance Professionals (yogaallianceprofessionals.org)

